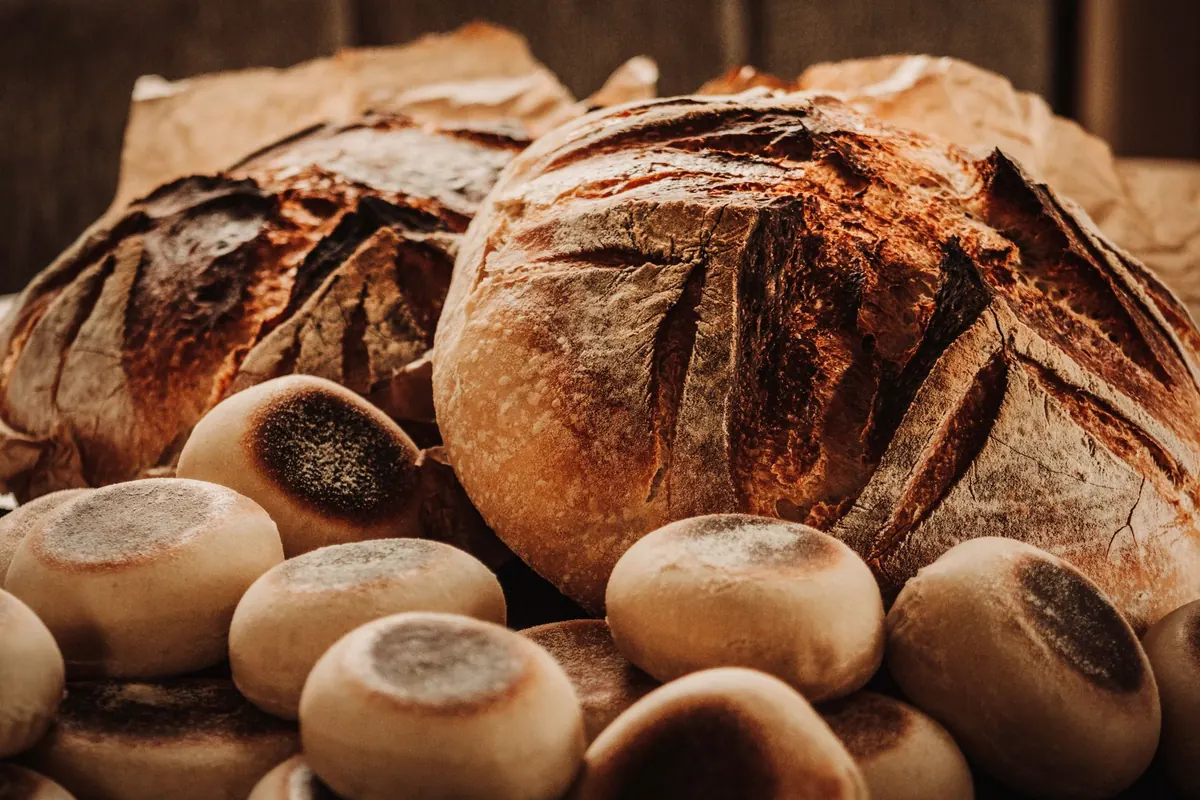
Few things in a home kitchen are as satisfying as the sound of a sourdough loaf crackling as it cools, and few are as quietly humbling. You follow the same recipe, feed the same starter, and end up with a proud open crumb one week and a flat, gummy disc the next. Almost every disappointing loaf traces back to one of a handful of well-worn mistakes, and once you know what to look for, they are far easier to fix than to fret about.
Your starter is weaker than you think
It bubbles, it smells pleasantly sour, so it must be ready. Not necessarily. A starter can look lively and still be too weak to raise a loaf. A healthy one roughly doubles in volume within four to eight hours of feeding at room temperature, holds a domed top, and smells of yoghurt and flour rather than acetone. If yours fizzes but never rises, or collapses within an hour, your bread will be under-fermented no matter how long you leave it to prove.
The fixes are dull but effective:
- Feed it on a schedule. Twice a day at room temperature for two or three days before you plan to bake, then once a day in the fridge when you're not baking often.
- Use it at its peak. Scoop it out when it's domed and just beginning to fall, not when it has collapsed and smells sharp.
- Warm it up. Water at around 24–26°C speeds fermentation along; cold water slows it to a crawl.
- Give it something to eat. A spoonful of wholemeal or rye flour in each feed gives the yeast more to work with than white flour alone.
If your starter smells of nail varnish remover, it's hungry rather than dead. Feed it more often, and more generously, before you give up on it.
Treating a hydration percentage as a rule
An 80 per cent hydration dough looks impressive on a baker's feed. It's also much harder to handle, and the number means different things depending on the flour in your kitchen. British strong white flour absorbs noticeably less water than most American bread flours or freshly milled grain, so a recipe developed elsewhere can leave you with something closer to batter than dough.
Start at 65–70 per cent, which is 650–700g of water for every 1kg of flour, and only push it higher once you can shape a loaf comfortably. If you do want a wetter dough, hold back 50g of the water and add it after the first rest, once the flour has had a chance to hydrate. And change one variable at a time: switching flour brand and raising hydration in the same bake tells you nothing about either.
Poor shaping leaves a dough without tension
A dough with no tension in its surface will spread sideways in the oven instead of springing upwards. Shaping isn't about squeezing air out or making the dough look neat. It's about building a taut skin on the outside while keeping the gas inside.
Give the dough a pre-shape, then let it rest on the bench for 20 to 30 minutes, covered, until it relaxes. For the final shape, use a light dusting of flour and a bench scraper, tuck the edges underneath, and drag the dough towards you across the worktop to create tension. You should feel it tighten under your hands. If it tears, it's fighting you, so rest it for ten minutes and start again. Place it seam-side up in a floured banneton, or seam-side down on parchment if you're baking it straight away.
Judging the prove by the clock
Under-proving sits behind most dense, gummy, pale-crusted loaves. Recipes say "prove for four hours", but your kitchen in February is not the recipe writer's kitchen in July. A cold room can double the time; a warm one can halve it.
Watch the dough instead. In a straight-sided container, mark the starting level and wait for a rise of roughly 50 to 75 per cent, with a few bubbles on top and a gently domed surface. The poke test helps too: flour your finger and press the dough lightly. If it springs back at once, it needs longer. If the indentation half-fills slowly, it's ready. If it stays put, you're on the edge of over-proving.
An overnight cold retard in the fridge is a lovely thing, but it isn't a substitute for a proper rise. If the dough hasn't grown by morning, let it finish at room temperature before baking. A cold, under-proved loaf goes into the oven as a thick crust and a tight, doughy middle.
Rushing the oven and the cooling rack
Two mistakes spoil good loaves at the very last moment. The first is a Dutch oven that hasn't been heated for long enough. Give it 30 to 40 minutes at 230–250°C so the dough hits a properly hot surface and gets its spring.
The second is timid scoring. A blunt knife drags through the dough; a razor blade or lame, held at a shallow angle and cut in one confident movement, opens a flap that controls where the loaf expands.
And the last one is cutting into the loaf too early. Bread keeps cooking as it cools, and the crumb is still setting while steam escapes. Wait at least an hour, two if you can bear it. A loaf torn open after ten minutes will taste gummy however well you baked it.
Change one thing at a time
Sourdough rewards a systematic approach. Keep a notebook, or a few lines on your phone, recording flour, hydration, room temperature, timings and how the dough felt at each stage. Then change one variable per bake. If the crumb was gummy, prove for longer next time and change nothing else. If the loaf spread, work on shaping before you touch the recipe.
Expect your first few loaves to be edible rather than beautiful. The bakers who improve quickly are the ones who pay attention to the dough rather than the clock, and who bake often enough to notice what has changed. Feed the starter, keep the dough warm, and give it time.
Photo: Lauren Heaton / Pexels